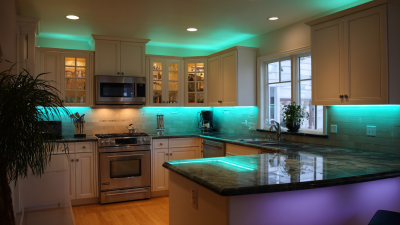
Lighting can dramatically change a space, and under cabinet LED lighting is a popular choice among homeowners. This type of lighting enhances visibility in kitchens and workspaces. Moreover, it adds a modern touch to your decor. With various options available, choosing the right installation method can seem daunting.
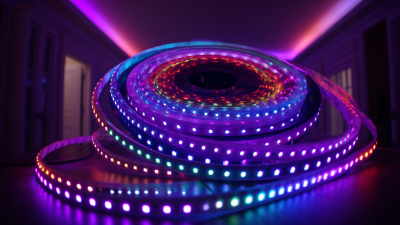
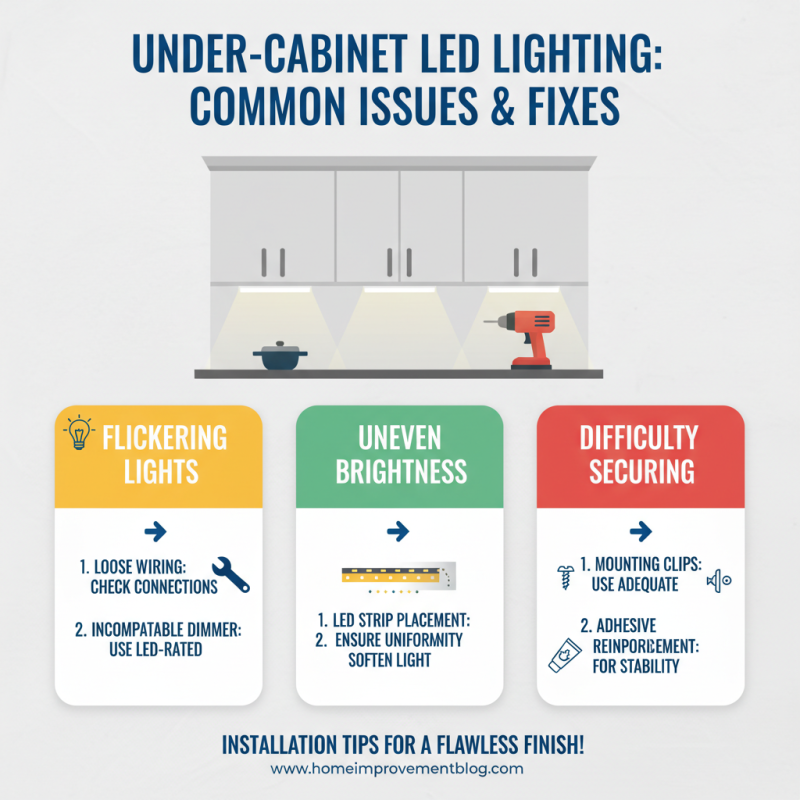
Installing under cabinet LED lighting can be straightforward with the right approach. You will need essential tools and materials to get started. But it’s easy to make mistakes. Not measuring correctly might lead to uneven lighting. Certain aspects require patience and attention to detail. Always double-check your plans before proceeding.
This guide will explore an efficient method for installation. It aims to simplify the process, even for beginners. You can achieve a polished look with minimal effort. Whether you enjoy cooking or just want a cozy ambiance, under cabinet LED lighting can fulfill those needs. Let's illuminate your space efficiently and stylishly.
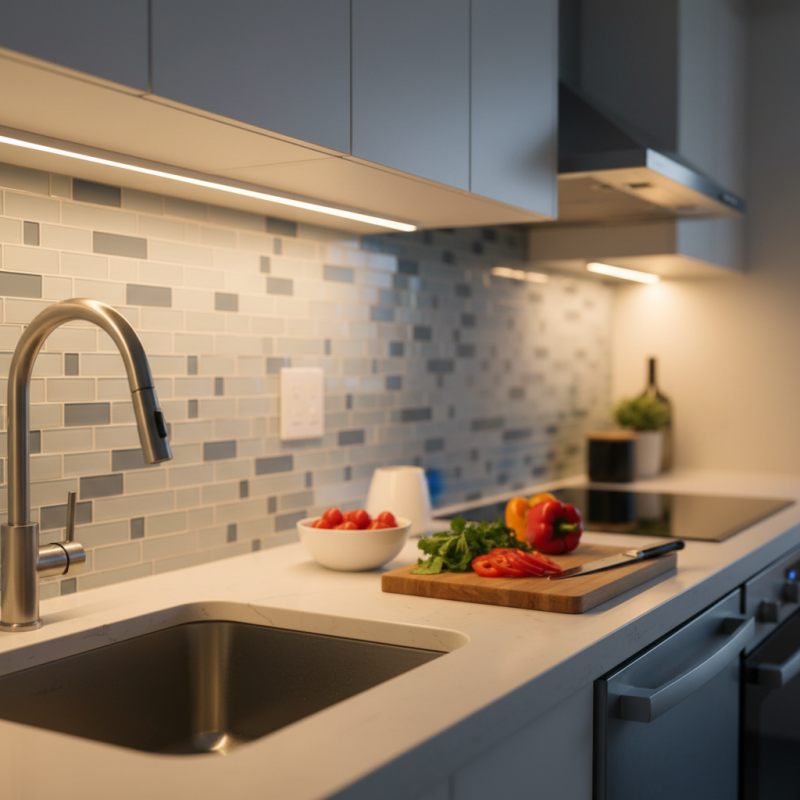
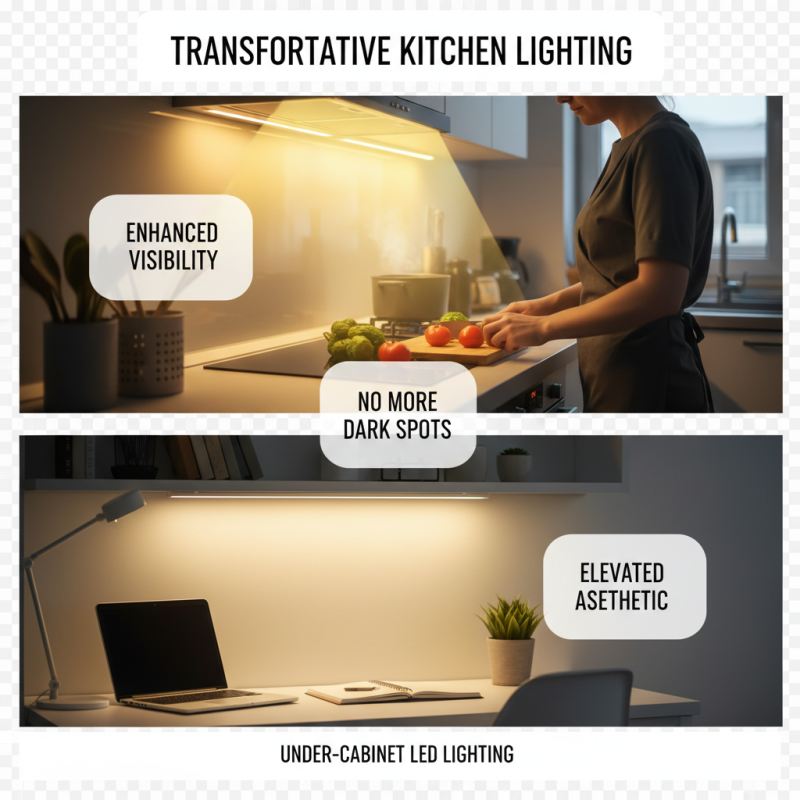
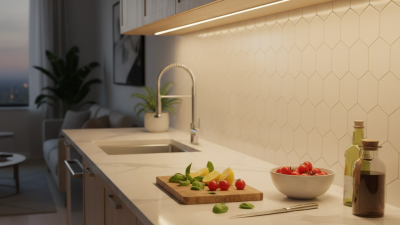
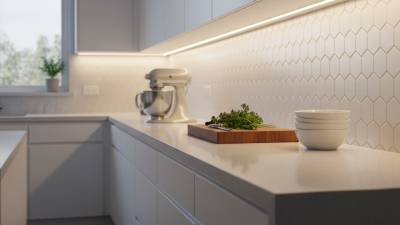
Under cabinet LED lighting brings a transformative touch to kitchens and workspaces. Its brightness enhances visibility while you cook or handle tasks. The focused light eliminates dark corners, making spaces feel larger and more inviting. Imagine slicing vegetables under a warm glow that sets the perfect mood. It’s more than just functional; it adds a decorative element, elevating the overall aesthetic.
Energy efficiency is another significant advantage. LED bulbs consume less power than traditional options. This means lower energy bills, which is always a plus. The lifespan of these bulbs is also impressive. They can last for years, reducing the need for frequent replacements. However, installation can be tricky. Aimed at those with little DIY experience, the process may feel daunting at first.
Yet, even with the challenges involved, the results can be stunning. It might take time to find the perfect placement. Don’t be afraid to experiment with different angles. Mistakes can lead to improved techniques in the long run. Understanding how to harness this lighting could greatly enhance your space. Each adjustment brings you closer to the ideal setup for your needs.
Choosing the right LED lighting fixtures for your under-cabinet space is crucial. Consider your overall kitchen design. You’ll want fixtures that blend seamlessly with your decor. Think about the color temperature as well. A warm white gives a cozy feel, while cool white appears more modern.
When selecting fixtures, also consider their size and brightness. You don’t want overly large fixtures that dwarf your cabinets. Aim for lights that provide adequate illumination without causing glare. Take time to measure your space. That’s essential for a proper fit. Not all fixtures work well for every area.
Don't rush this decision. It's easy to get caught up in aesthetics. However, functionality must also be a priority. Reflect on how you use the space. Will you be preparing meals? Then, brighter lighting is necessary. Light intensity impacts the room's overall vibe. Keep this in mind while exploring options.
This chart illustrates the installation time required for different types of under cabinet LED lighting fixtures in hours. Choosing the right fixture can significantly enhance the efficiency of the installation process.
To install under cabinet LED lighting, having the right tools and materials is crucial. Start with a power drill and a screwdriver. These tools help secure the lighting fixtures tightly. A measuring tape will aid in precise placement. It’s helpful to have a level too, ensuring that your lights are straight. Some people forget this step and regret it later when the lights look off.
You’ll also need LED light strips or fixtures. These come in various lengths and brightness levels. A power supply matching your lights’ requirements is essential as well. Don't overlook adhesive strips or mounting brackets for easy installation. Wire connectors and electrical tape can make your wiring safer. If you plan to cut light strips, have a pair of scissors on hand.
Make sure to double-check your measurements. Length errors can lead to wasted materials. Installing lights too far apart may create dark spots. Avoid rushing through the installation. Sometimes, people miss steps, leading to uneven lighting. Take your time to ensure all components are in place.
| Tool/Material | Purpose | Quantity | Estimated Cost ($) |
|---|---|---|---|
| LED Strip Lights | Main lighting source | 2-4 strips | 40-100 |
| Power Supply | Converts AC to DC for LED | 1 | 15-30 |
| Mounting Clips | Secures lights to the surface | Pack of 10 | 5-10 |
| Wire Connectors | For safe electrical connections | Pack of 20 | 5 |
| Wire Stripper | To prepare wires for connection | 1 | 10-15 |
| Electrical Tape | Insulates electrical connections | 1 roll | 2-5 |
| Screwdriver | For mounting and securing | 1 | 5-10 |
Installing under cabinet LED lighting can transform your kitchen.
It enhances the ambiance and provides practical task lighting.
Start by gathering your tools. You’ll need a drill, screws, mounting tape, and wire connectors.
Clear the area to avoid any accidents. Also, remember to measure the space accurately;
it can be quite frustrating if your lights don’t fit well.
Next, mark the spots where you’ll install the lights. Ensure that the power is off to prevent any mishaps.
Securely mount the LED strips according to your plan. This is where things can get tricky;
make sure alignment is precise for an even glow. The other challenge lies in managing wires.
Neatly tuck them away to avoid clutter. If you run into difficulties, don’t hesitate to take a moment to reassess.
After installation, turn the lights on and see how they look.
Sometimes, the brightness may be overpowering or too dim. Adjust as needed to fit your atmosphere.
Remember, it’s a process of trial and error.
Allow yourself space to reflect on what works and what doesn’t for your unique setting.
Take pride in your effort; even if things didn’t go perfectly, you’re one step closer to your ideal kitchen lighting.
Installing under cabinet LED lighting can be rewarding, yet challenges may arise. Common issues include flickering lights, uneven brightness, and difficulty in securing the fixtures. When lights flicker, it often indicates a loose connection. Check all wiring and make sure they are tightly secured. Sometimes, the issue lies with the dimmer switch. If using a dimmer, ensure it’s compatible with LED lights.
Another problem is uneven brightness. This can result from inadequate spacing between lights. Ideally, place lights 12 to 24 inches apart. If sections are too spaced out, it may be beneficial to adjust their positions. When fixtures won’t stay in place, reassess how they are attached. Ensure you use appropriate mounting hardware for your surfaces. If adhesive strips are used, they must be applied to clean, dry surfaces for the best bond.
Don’t be discouraged if installation doesn’t go perfectly at first. Reflect on any mistakes and adjust your approach. Taking the time to troubleshoot and reevaluate can lead to a successful setup. Embrace the learning process; each step brings you closer to a well-lit space.