How to Choose Outdoor Strip Lighting?
Choosing outdoor strip lighting is less about buying the brightest product. It is about matching light, weather resistance, installation conditions, and visual purpose. A patio may need soft perimeter illumination, while outdoor steps require clearer, safer visibility. The wrong choice can create harsh glare, dark gaps, or exposed wiring after one rainy season.
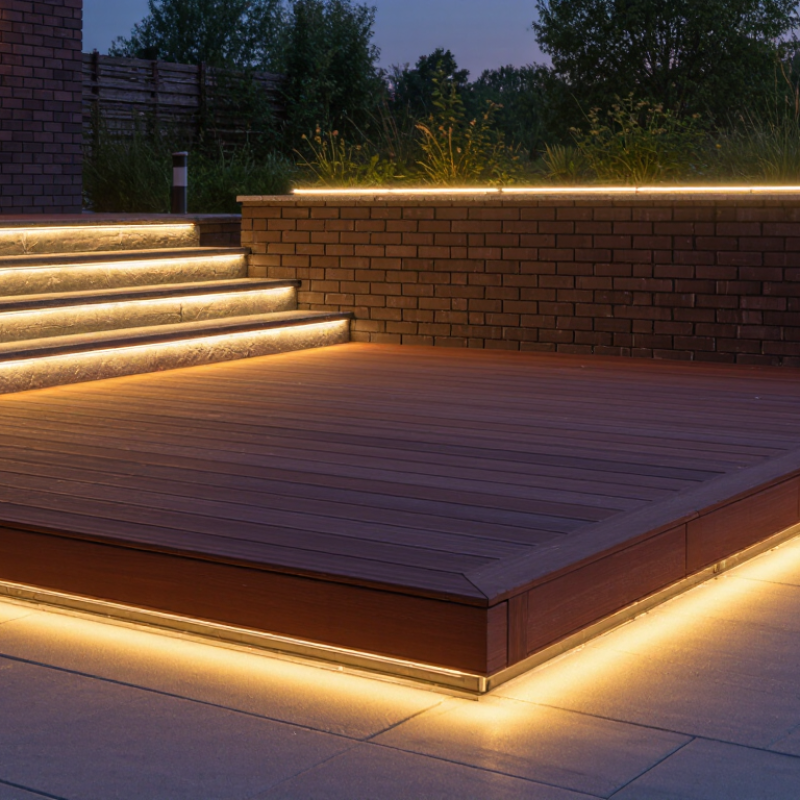
Lighting designer David Warfel is often credited with saying, “Light is a tool, not a decoration.” That idea is useful here. Outdoor strip lighting should support how people move and gather. Check the IP rating, voltage, color temperature, LED density, and aluminum channel design. For example, a warm 2700K strip can make timber decking feel inviting. A higher-density strip can reduce visible dots beneath a handrail. Small details matter.
Experience also teaches caution. Adhesive backing may fail on dusty brick, damp stone, or uneven paint. A waterproof label does not protect an unsealed connector. Measure every run carefully, leave service access, and select a power supply with suitable capacity. Many guides make installation sound effortless. It is not always effortless. Heat, water, and poor drainage can expose weak decisions quickly.
This guide explains how to compare outdoor strip lighting for patios, pathways, balconies, and garden structures. It focuses on practical performance, not exaggerated brightness claims. You will learn what specifications mean, where installation mistakes occur, and when professional electrical advice is sensible. Some compromises remain unavoidable. Good lighting is rarely perfect, but it should be reliable, comfortable, and deliberately chosen.
Define Outdoor Conditions Using IEC 60529 IP65–IP67 Protection Ratings
Choosing outdoor strip lighting starts with the environment, not brightness.
IEC 60529 defines the IP code through controlled laboratory tests.
The first digit, 6, means the enclosure is dust-tight. The second digit separates protection levels.
IP65
withstands water jets from any direction.
IP66
handles stronger water jets.
IP67
supports temporary immersion, usually up to one metre for 30 minutes.
It does not automatically guarantee IP66 performance. Both tests must be declared separately.
Small detail. Important detail.
In real installations, rain is only one threat. Salt spray, ultraviolet exposure, freezing temperatures, condensation, and cleaning chemicals can shorten service life.
The International Energy Agency reports that lighting uses roughly 10% of global electricity, increasing the value of efficient, durable choices.
The U.S. Department of Energy’s SSL research reports also continue to emphasize reliability, thermal management, and controls.
IP protection alone cannot solve heat buildup behind an aluminum channel.
Tips:
Match the rating to the actual location. Use IP65 under a covered patio with limited spray. Choose IP66 for exposed walls and frequent washing. Consider IP67 near ground-level splash zones, but avoid permanent submersion.
Check cable joints, connectors, and cut ends. They often become the weakest points.
I once treated IP67 as a complete outdoor guarantee. That was too simple.
Verify UV resistance, operating temperature, drainage, and installation instructions before purchase. A higher IP number is not always the better fit.
Set Brightness and Energy Targets in Lumens per Meter and Watts per Meter
Choosing outdoor strip lighting starts with two measurable targets: lumens per meter and watts per meter. Lumens per meter describe visible brightness along the strip. Watts per meter show electrical demand. A brighter strip is not always better. On a narrow stair edge, 500 lm/m may feel harsh against dark paving. For a patio work surface, 800–1,200 lm/m can be more practical. These figures are starting points, not guarantees.
I check the surface, mounting height, and diffuser before selecting output. A strip under a handrail loses perceived intensity when aimed away from the walking area. Light-colored walls reflect more light than rough, dark brick. For energy planning, multiply watts per meter by the installed length. A 12-meter run at 10 W/m needs 120 watts before allowance. Add roughly 15 percent capacity to the power supply. Keep voltage drop in mind. Long runs may need separate feeds. Small detail, big consequence.
Compare efficiency by dividing lumens per meter by watts per meter. For example, 900 lm/m at 9 W/m equals 100 lm/W. This helps compare brightness without ignoring consumption. I would also test a short sample outdoors at dusk. Product data can look precise, yet real brightness changes with spacing, weather, and the cover. My own first estimates have sometimes been too bright. That is worth admitting. Choose the lowest output that makes paths or seating areas comfortable and clearly visible. Verify outdoor protection ratings and wiring practices for the installation location.
Choose CCT and CRI: 2700–3000K for Ambience and 80+ CRI for Color Quality
How to Choose Outdoor Strip Lighting?
Color temperature strongly shapes an outdoor space after sunset.
Choose 2700K for a soft, amber glow around patios, decks, and garden seating. Select 3000K when you want a cleaner appearance without creating a harsh, bluish effect. Warm light can make wood, stone, and foliage feel more welcoming. However, the same strip may look different beside pale walls or dark paving. Test a short section at night before installing the full length. Daylight is misleading.
CRI measures how naturally the lighting reveals color.
An outdoor strip with 80+ CRI can show furniture, plants, and food with reasonable accuracy. Higher CRI may be preferable near outdoor kitchens, dining tables, or decorative planting. Red flowers are a useful test. Low-quality light can make them appear dull or strangely brown. I once chose color temperature from a product image alone, and the installed light felt too yellow against grey stone. That mistake was avoidable.
Check the lighting at eye level, not only along the ground. Look for uneven brightness, visible dots, and reflections on wet surfaces. A warmer 2700K setting may suit relaxation, while 3000K can support pathways and task areas. Keep the visual transition gentle between indoor and outdoor spaces. Also confirm the strip is rated for moisture and temperature changes. Color preference is personal, but careful testing makes the decision more reliable.
Match Strip Voltage, Length, and Voltage-Drop Limits to the Power Supply
How to Choose Outdoor Strip Lighting?
Match Strip Voltage, Length, and Voltage-Drop Limits to the Power Supply
Outdoor strip lighting succeeds or fails at the power supply. Start by matching the strip voltage exactly. A 24V strip needs a 24V DC supply, while a 12V strip needs 12V. They are not interchangeable. Using the wrong voltage can cause dim output, overheating, or early failure. Check the strip’s wattage per meter, then multiply it by the installed length. Add 20 to 30 percent capacity for connectors, temperature changes, and gradual aging. Choose a supply designed for outdoor conditions, or place it inside a properly protected enclosure.
Length also affects brightness. Every cable and copper track creates resistance, causing voltage drop along the run. A five-meter strip using 10 watts per meter needs 50 watts before safety allowance. However, the power calculation alone is not enough. Check the stated maximum run length and voltage-drop limit. In one installation, the first metre looked bright, but the far end appeared noticeably dull. The cable was too thin, and the run was too long. I should have tested the end voltage earlier.
Measure the actual route, including corners and connection points. For longer layouts, use shorter parallel runs or heavier-gauge cable when permitted. Feed both ends only when the installation instructions allow it. Seal outdoor connections carefully, and test the strip after several minutes of operation. Leave room for error. Weather, cable quality, and imperfect connections can change the result. A small voltage check at the far end often reveals problems before they become expensive.
How to Choose Outdoor Strip Lighting?
Match the strip voltage, total length, and voltage-drop limit to the power supply before installation.
Planning basis: 9.6 W/m LED strip, a 5 m one-way copper supply cable, end-fed installation, and a maximum allowable voltage drop of 3%. Higher-voltage systems support longer runs because the same power requires less current. Actual limits also depend on cable temperature, connectors, installation layout, and the strip’s own internal voltage drop.