Choosing outdoor led lights seems straightforward until a dark path, exposed porch, or damp garden shows how different each area can be. A fixture that looks bright in a showroom may leave steps in shadow or send glare toward a neighbor’s window. Good planning starts with purpose, not appearance. Consider whether you need safer entry, softer patio lighting, or focused illumination near a gate. Small details matter. Lumens help compare brightness, while color temperature affects whether a space feels warm or stark. Check the fixture’s weather rating and installation instructions, too.
These ten tips will help you compare brightness, beam spread, color, durability, controls, and energy use before making a purchase. An IP rating can guide your choice, but the right level depends on exposure and the manufacturer’s specifications. Look at mounting height and nearby walls as well; pale surfaces can reflect more light than expected. Dimmers and motion sensors may be useful, though they are not ideal for every location. Energy-efficient fixtures can reduce power use, but savings depend on how often the lights run. A low price is tempting. It is not the whole story. Even a careful plan can overlook an awkward shadow or a cold-looking color, so review the space after installation and adjust where possible. Practical beats flashy.
Before comparing outdoor LED lights, define the task each area must support. A path needs comfortable, even visibility; a loading area may require clearer detail on the ground and on nearby faces. Be specific. “Improve safety” is too vague to guide a lighting plan.
Use current Illuminating Engineering Society (IES) guidance to find recommended illuminance for the relevant outdoor activity. Match the recommendation to the actual setting, then consider both horizontal light on the pavement and vertical light on signs, doors, or people. Check uniformity and glare, too: a bright patch beside a dark walkway can feel less usable than a lower, more even level. IES values are design guidance, not a substitute for site assessment. Local conditions, mounting height, surface reflectance, and operating hours can all change the result.
Measure the area and mark poles, trees, walls, and neighboring windows before selecting fixtures. A handheld meter can help verify light levels after installation, ideally at the task surface and at several points across the space. Test after dark. Look for harsh shadows and unwanted spill. Then adjust aiming or output, rather than assuming the first layout is right. One imperfect step is common: plans rarely capture every obstacle or reflection. Recheck readings as lenses age or accumulate dirt, since delivered light can fall over time.
| Tip | Lighting Task or Area | Illustrative Target Illuminance | Selection and Design Guidance |
|---|---|---|---|
| 1 | Define the task before selecting a fixture | Set a task-specific target in lux | Identify what people need to see, where the task occurs, and when the area is used. Use the applicable IES recommendations for the project type, then confirm local requirements. |
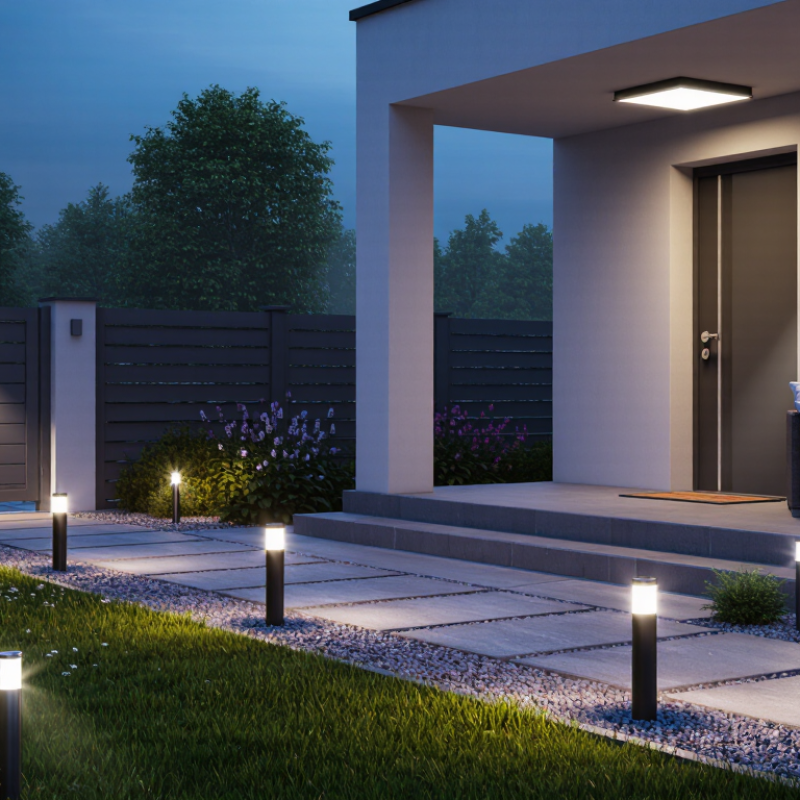
| 2 | Residential paths and walkways | About 5–10 lx | Use well-shielded, evenly spaced luminaires to reveal the walking surface and changes in level without creating bright spots or glare. |
| 3 | Exterior entrances and doorways | About 10–20 lx | Light the approach, door hardware, and faces at the entrance. Aim fixtures to avoid shining directly into occupants’ eyes or nearby windows. |
| 4 | Outdoor steps and short stairways | About 20–50 lx on treads and landings | Make each tread edge and landing easy to distinguish. Use consistent illumination and avoid shadows that could hide a step. |
| 5 | Residential driveways and low-activity parking areas | About 5–20 lx, selected for activity and risk | Distribute light across vehicle and pedestrian areas. Check uniformity and keep light out of neighboring properties and drivers’ lines of sight. |
| 6 | Loading, service, or outdoor work areas | About 20–50 lx, depending on task detail | Use higher targets where workers handle materials or need to read labels. Consider vertical illumination, shadows, equipment movement, and glare. |
| 7 | Choose optics for distribution and uniformity | Check both average and minimum illuminance | Compare photometric files and calculated results for the actual layout. A suitable beam pattern can reduce dark gaps and the number of fixtures needed. |
| 8 | Control glare, spill light, and upward light | Meet project limits and local regulations | Prefer shielded optics and careful aiming. Review light trespass at property boundaries and potential glare for pedestrians, drivers, and nearby residents. |
| 9 | Match the fixture to outdoor exposure | Use an appropriate ingress-protection rating | Check the IP rating, temperature range, corrosion resistance, and impact rating against the site conditions. Follow the manufacturer’s installation instructions. |
| 10 | Plan controls, color quality, and maintenance | Recheck maintained illuminance over time | Select a suitable color temperature and color-rendering level for the setting. Consider timers, dimming, or occupancy controls, and account for dirt and LED lumen depreciation in the design. |
Note: Illuminance values are illustrative planning ranges, not universal IES requirements. Applicable recommendations vary by application, site conditions, and edition; verify the current IES guidance, local codes, and project criteria. Illuminance is measured in lux (lx), where 1 lx equals 1 lumen per square metre.