How to Choose the Best Tape Lights for Your Project?

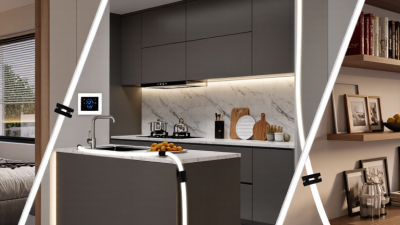
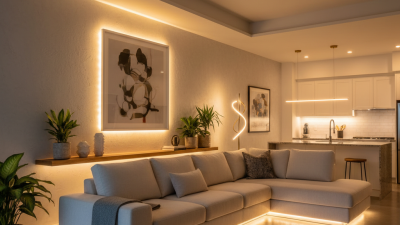
Choosing tape lights is less about buying the brightest strip and more about matching light to the job. A kitchen counter needs clear, even task lighting. A bookshelf may need a softer glow that brings out wood grain without creating glare. Lighting designer Randall Whitehead’s reminder, “Lighting is the jewelry of the home,” captures the decorative side of the decision. But useful lighting must do more than look good. Check brightness, color temperature, color rendering, and whether the strip can be dimmed. Small differences matter. A cool white strip can feel harsh in a warm living room, while a low-output strip may disappear under a deep cabinet.

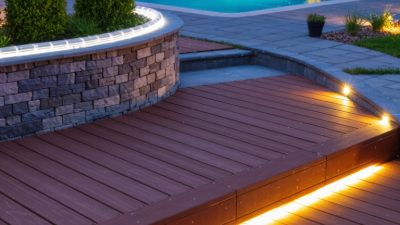
This guide explains how to compare tape lights for accent, task, and outdoor applications. It also covers voltage, power supplies, controls, mounting surfaces, and protective ratings. Measure each run before ordering, and note where connectors or corners may interrupt the line. A diffuser can soften visible dots, though it may reduce output. That trade-off is easy to overlook. So is heat: enclosed channels and poor airflow can shorten product life. There is no single best strip for every project. The right choice depends on the space, installation details, and the effect you want, with product specifications checked before purchase.
How to Choose the Best Tape Lights for Your Project?

Define Your Project’s Lighting Goals and Requirements

How to Choose the Best Tape Lights for Your Project?

Define Your Project’s Lighting Goals and Requirements

Start by deciding what the light needs to do. A reading nook needs clear, comfortable illumination, while a shelf may need a soft glow that highlights objects. Note the area’s length, shape, and nearby power access. Measure twice; awkward corners can change the layout.

For task lighting, compare brightness in lumens per foot rather than relying on appearance alone. Choose a color temperature that suits the space: warmer light often feels relaxed, while cooler light can make work surfaces look crisp.

Tips: Check the tape light’s voltage, dimmer compatibility, and maximum run length before buying. For longer installations, confirm the manufacturer’s guidance on power feeds and voltage drop. Match the product’s moisture rating to the location, especially near sinks or outdoors. The details are easy to miss.

Also consider how the lights will be mounted. Dusty, textured, or warm surfaces can weaken adhesive, so clean and test a small section first. Check the profile for heat management and room for wiring. If accurate color matters, look for a high color-rendering index (CRI). A small sample can reveal glare or color shifts that a specification sheet cannot. I would not skip that test, even when the plan seems straightforward.
Compare Tape Light Types, Brightness, and Color Options

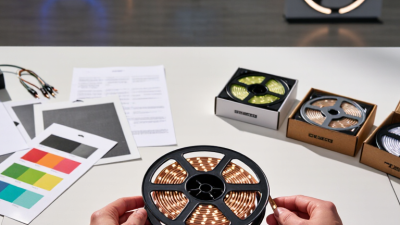
Tape lights differ in how they look and where they work best. Standard SMD strips use spaced LEDs, which can create visible dots on glossy counters. COB strips place emitters close together for a smoother line beneath a shallow diffuser. For damp areas, check the strip’s stated protection rating and how its cut ends must be sealed. Coatings can also make a strip harder to cool.

Brightness is more than a high number on a package. Compare lumens per meter, then test the strip behind your chosen diffuser; covers and channels reduce perceived output. For shelves or accent edges, softer output may feel comfortable. For food prep, choose a brighter strip and avoid placing it where it shines into your eyes. Warm white feels relaxed, while neutral or cool white can make task areas look clearer. A high color-rendering rating, such as CRI 90 or above, helps colors appear more natural. RGB strips offer changing colors, but RGBW models add a separate white emitter. That white can look better for everyday lighting. I might still choose too much brightness on paper; a small sample test can catch that.

Tips: Match the strip’s voltage to its power supply, and check dimmer compatibility before buying. Measure each run, allow room for wiring, and test the color beside your actual cabinet or wall finish.

How to Choose the Best Tape Lights for Your Project? Compare Tape Light Types, Brightness, and Color Options

Tape Light Type Typical Brightness Color Options Best For Key Considerations
Low-density SMD
Commonly 3528 or similar LEDs
Approximately 200–600 lumens per meter Usually single-color options such as warm white, neutral white, or cool white Accent lighting, display shelves, and projects where a softer light is sufficient Individual light points may be visible through clear covers. Use a diffuser for a smoother appearance.
High-output SMD
Commonly 5050 or similar LEDs
Approximately 500–1,500 lumens per meter for white-light versions Single white, RGB color-changing, or other configurations depending on the product Under-cabinet lighting, coves, and brighter decorative or task-lighting applications Output and power use vary substantially by LED count, operating current, and product design. RGB versions may produce less useful white light than dedicated white LEDs.
COB tape light
Continuous rows of closely spaced LED chips
Approximately 300–1,000 lumens per meter, depending on the model Commonly available in fixed white colors; some versions offer tunable white or color-changing options Visible installations, smooth accent lines, and shallow channels where individual LED dots are undesirable Typically produces a more continuous-looking line than widely spaced LEDs, but brightness, efficiency, and color quality still depend on the specific product.
Tunable-white tape light Often approximately 400–1,200 lumens per meter at full output Adjustable white, commonly within a range such as 2,700–6,500 K Rooms that need warm evening light and cooler white light for daytime use Requires a compatible controller. Maximum output may change when adjusting color temperature.
RGB tape light Brightness depends on the selected color; white-light output is generally not comparable to a dedicated white strip Red, green, blue, mixed colors, and preset effects Decorative lighting, entertainment areas, and color accents Choose RGBW or a separate white strip if dependable white illumination is important. A compatible RGB controller is required.
RGBW tape light Varies by model; the dedicated white channel provides more practical white illumination than RGB mixing alone RGB colors plus a separate white channel; some products offer warm or cool white Projects that need both color effects and useful white light Check whether the white channel is fixed-color or tunable, and confirm controller compatibility before installation.

Selection note: Brightness figures are indicative ranges, not guaranteed specifications. Compare the stated lumens per meter, watts per meter, color temperature, CRI, voltage, and dimming compatibility for the exact product. For longer runs, check the manufacturer’s guidance on power supply sizing and voltage drop.

Check Installation Conditions and Environmental Ratings

Before choosing tape lights, map the actual installation conditions. A dry bedroom shelf differs from a bathroom mirror or a covered patio. Note nearby sinks, windows, cooking steam, and places where water may collect. Small details matter.

Check the IP rating against the exposure, not just the room name. The first digit indicates protection from solid particles; the second relates to water. A higher water rating may suit splashes, but it does not automatically protect against sun, temperature swings, or cleaning chemicals. Check the light’s stated operating range too. An enclosed channel can trap heat, especially in a tight cabinet. That matters.

Prepare the mounting surface carefully. It should be clean, dry, and smooth enough for the adhesive to hold; dusty wood and textured paint can cause lifting. Measure twice. For damp locations, check whether connectors and cut ends need additional sealing, and follow the installation instructions for those details. A common planning mistake is rating the strip but overlooking its power supply and connections. I would inspect the whole setup, not just the glowing section. Even then, surface conditions can be unpredictable, so test a short section before committing to a long run.

Choose the Right Power Supply, Controls, and Accessories

A reliable tape-light installation starts with a power supply that matches the tape’s voltage. Check the product’s wattage per metre, then multiply it by the total length. Allow roughly 20 percent extra capacity, unless the manufacturer specifies another margin. Measure twice. For long runs, voltage drop can make the far end look dimmer. Splitting the run or feeding it from both ends may help, but follow the tape’s installation instructions.

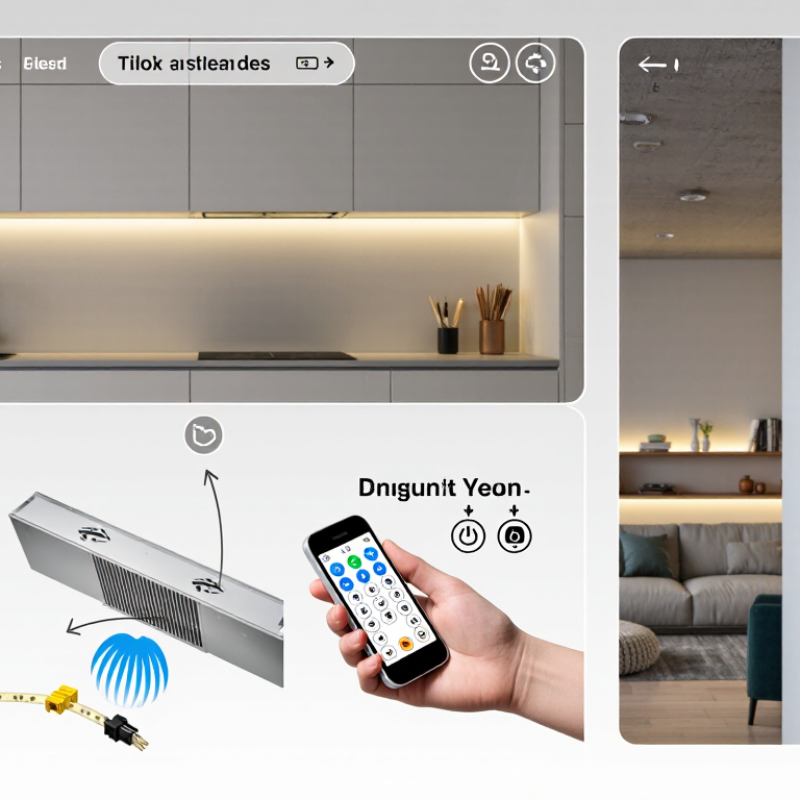
Choose controls that work with both the power supply and the tape. A dimmer may require a compatible constant-voltage supply, and some systems need a separate controller. Confirm the control type before ordering. A wall switch is simple; a remote or app can offer more flexibility. More features also mean more setup.

Accessories affect the finished result. Connectors should match the tape’s width, pin layout, and voltage; check polarity before powering the circuit. Use wire suited to the current and run length, and consider an aluminium profile with a diffuser to protect the tape and soften bright LED points. Not always. A diffuser can also reduce perceived brightness, so test a short section where possible. Check the tape’s moisture rating before placing it near sinks or outdoors, and use accessories rated for that environment.

Verify Compatibility, Safety, and Long-Term Maintenance Needs

Before buying tape lights, verify the strip and power supply use the same voltage. A 24-volt strip needs a 24-volt supply; matching the plug alone proves nothing. Add up the strip’s wattage and allow the driver extra capacity, especially for long runs. Check that dimmers and controllers support the same voltage and dimming method. Small mismatch, big consequence.

Safety depends on where the lights will go. For kitchens or bathrooms, check the product’s ingress-protection rating against likely splashes, and keep electrical connections accessible. Follow the manufacturer’s installation instructions and look for independent safety certification appropriate to the product. The U.S. Department of Energy reports that LEDs use at least 75% less energy and last up to 25 times longer than incandescent lighting. That is a broad LED comparison, not a guarantee for every tape light. Heat still matters: an enclosed cabinet or poorly ventilated channel can shorten useful life. Measure twice.

Plan maintenance before sticking the strip in place. Choose accessible connectors, leave room to replace the driver, and avoid covering service points with caulk or permanent trim. Dust can collect around channels, while adhesive may weaken on textured, oily, or warm surfaces. Clean and dry the mounting surface, then test the full run before final installation. A neat spec sheet cannot predict every ceiling cavity; inspect the actual temperature and access after the lights have been running.

Filter By