Choosing the best flexible LED strip lights in 2026 depends on where they will go and what you expect them to do. A strip for a kitchen counter has different needs from one tucked behind a television or wrapped around a shelf. Brightness, color quality, control options, and power requirements all matter. So does the surface. Dusty paint, tight corners, and warm electronics can challenge an adhesive backing.
This guide compares the details that often separate a useful strip from a frustrating purchase. It looks at dimming, app and remote controls, cut points, connector compatibility, and protection against moisture. Check the power supply and installation instructions before buying; a connector that looks right may not fit your particular strip. Small detail, big headache. Product specifications can also be hard to compare, since brightness and color claims are not always presented consistently. There is no single winner for every room. A low-cost model may work well for accent lighting, while a brighter, better-controlled option may suit task lighting more reliably. Still, higher price alone proves little. The recommendations ahead focus on matching practical features to real setups, while noting limitations where information is unclear. Use them as a shortlist, then verify dimensions and compatibility before installation. Done carefully, that comparison can save time and spare you a strip that looks great online but disappoints on the wall.
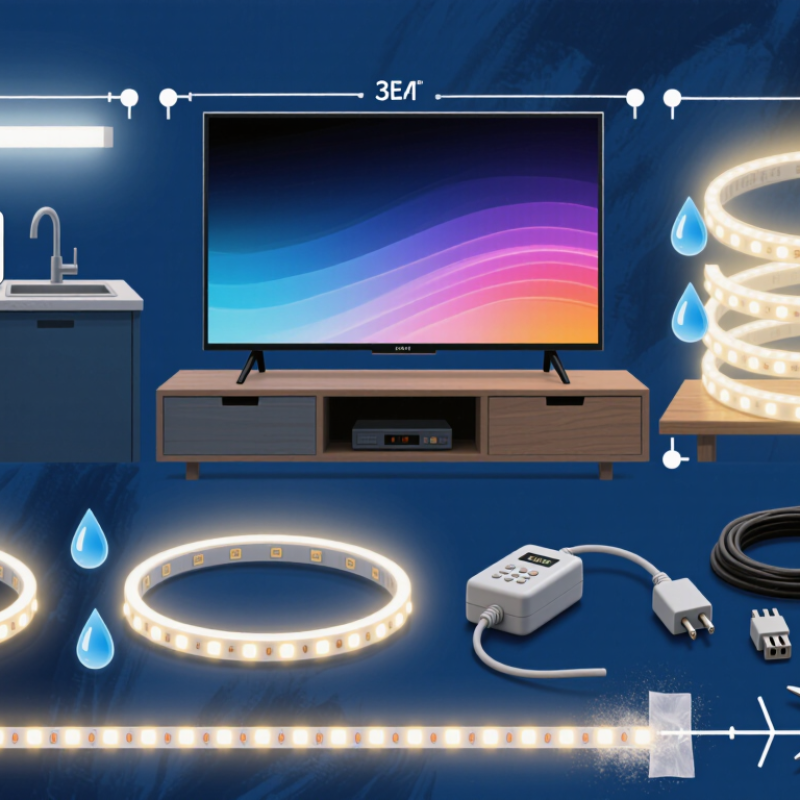
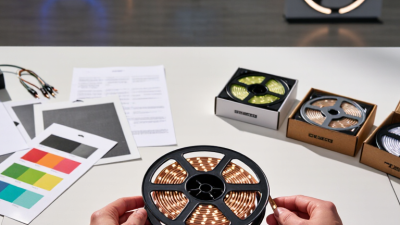
Flexible LED strip lights are narrow circuit boards that bend around corners, shelves, and shallow curves. Small light-emitting diodes sit along a flexible copper circuit, with resistors and other components controlling current. The board is usually backed with adhesive, though the glue may struggle on dusty, painted, or warm surfaces. Flexible does not mean stretchable.
Power flows from a compatible low-voltage supply through the circuit to each LED. Common systems use 5, 12, or 24 volts, so the supply must match the strip’s rating. Some strips produce one fixed color; others mix red, green, and blue LEDs through a controller. Addressable versions let individual sections display different effects. Look for marked cut points. Cutting elsewhere can break the circuit, and reconnecting sections may require soldering or suitable connectors.
Brightness and color depend on LED density, power, and installation conditions. A strip tucked inside a metal channel can shed heat better than one pressed against insulation, which may help it last longer. Moisture-resistant coatings protect against splashes, but they do not make every strip suitable for outdoor exposure. Small details matter. I would not rely on adhesive alone for a long ceiling run; clips can provide extra support. Even careful planning has limits: corners, voltage drop, and uneven surfaces can make the finished light look less uniform than expected.
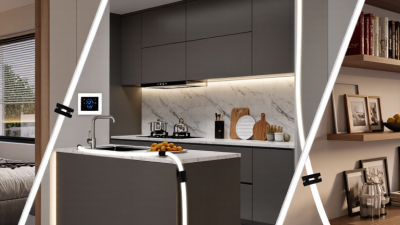
Flexible LED strip lights are circuit boards carrying LEDs and resistors or control components on a bendable backing. They emit light when electrical current flows through the LEDs. This example uses a 24 V strip rated at 9.6 W per meter; current is calculated as total power divided by voltage. Actual power ratings vary by strip, and longer installations may need power fed at multiple points to limit voltage drop.
The best flexible LED strip lights in 2026 depend on where and how you plan to use them. Compare brightness in lumens per meter, not just the advertised wattage. A dense strip usually gives smoother light under a kitchen cabinet, while wider-spaced LEDs may show bright dots. Check the color temperature too: warm white feels softer in a bedroom, while neutral white can make a work surface easier to see. Color accuracy matters near paint, food, or clothing, so look for a high CRI rating. More features do not always mean better light.
Tips: Measure the full run, then check where the strip can be cut. Confirm that the power supply supports the strip’s voltage and total length. For bathrooms or covered outdoor areas, verify the IP rating for the exact location. Wipe the mounting surface clean and dry before sticking the strip down. Adhesive can fail on dusty or textured walls. Measure twice.
Also compare dimming and control options before buying. Some strips work with a simple dimmer; others need a compatible controller. Check whether the strip can bend around corners, but do not fold it sharply. Heat can shorten its life, especially in tight channels without room to dissipate warmth. One detail is easy to overlook: connectors and end caps may not be included. Read the installation notes, not only the product headline. A little planning helps prevent uneven light and extra cuts.
A practical comparison of common LED strip types. Specifications such as brightness, cut spacing, power use, and water resistance vary by product; check the individual product label and installation instructions before buying.
| Strip Type | Best For | Light and Color | Power and Installation | Control and Cutting | Key Limitations |
|---|---|---|---|---|---|
| Tunable-white LED strip | Everyday lighting Under cabinets, shelves, and work areas where adjustable white light is useful. |
Offers adjustable warm-to-cool white light. Color-temperature range and color quality depend on the product. | Commonly supplied as a low-voltage strip with a compatible power supply. Match the supply voltage and power capacity to the strip. | May use a wall dimmer, remote, or app-compatible controller. Cut only at the marked cut points. | Does not produce saturated colors unless it also includes colored LED channels. A suitable controller may be needed for dimming or color-temperature adjustment. |
| RGB or RGBW strip | Color accents Bedrooms, entertainment areas, displays, and decorative lighting. |
RGB mixes red, green, and blue light to create colors. RGBW adds a separate white channel, which can provide more useful white light. | Usually requires a compatible low-voltage power supply and a controller. Longer runs may need careful power planning to reduce brightness differences. | Controller features range from basic color selection to dimming and preset effects. Follow the marked cut points and reconnect compatible sections correctly. | RGB-generated white may look different from dedicated white LEDs. Animated effects and app features depend on the controller, not just the strip. |
| Addressable RGB strip | Custom effects Projects that need flowing patterns, individual sections, or synchronized animations. |
LEDs or groups of LEDs can display different colors at the same time, depending on the strip’s control design. | Many hobbyist versions use 5 V or 12 V, but voltage is product-specific. Longer installations may require additional power connections. | Needs a compatible addressable controller and correct data wiring. Directional arrows or input markings must be followed when connecting sections. | More complex to install than a basic color-changing strip. Controller compatibility, power injection, and wiring need particular attention. |
| COB LED strip | Smooth light line Visible channels, coves, and installations where individual light points are distracting. |
Closely spaced LED chips create a more continuous-looking line of light than many conventional strips. | Available in different voltage and color options. Use a compatible power supply and an appropriate mounting surface or channel. | Cutting intervals vary by model and are usually marked on the strip. Some versions support dimming with a compatible controller. | A smooth appearance does not guarantee high brightness or high color accuracy. Check the product’s output and color specifications for the intended task. |
| Outdoor-rated LED strip | Covered outdoor areas Patios, eaves, and other locations exposed to moisture or dust. |
May be available in white, tunable white, RGB, or RGBW versions; outdoor suitability depends on the complete product assembly. | Choose a power supply and connectors rated for the installation location. Seal cut ends and connections as directed by the manufacturer. | Control options vary. Check whether the controller and power supply also have suitable environmental protection. | IP ratings describe resistance to dust and water under specified test conditions; they do not mean a product is suitable for every outdoor or underwater use. |
| High-density white LED strip | Task lighting Work surfaces, cabinets, and linear fixtures where consistent white illumination matters. |
Typically uses a single white color temperature. Review color-rendering information and measured output if accurate color appearance is important. | Check power consumption per metre and total installed length when sizing the power supply. An aluminium channel can help with mounting and heat management. | May be dimmable with a compatible controller or power supply. Cut only at the designated intervals. | Brightness and efficiency differ between products. A diffuser can soften visible points but may reduce delivered light. |
Flexible LED strip lights in 2026 come in several useful types, each suited to a different effect. Single-color strips provide steady white or colored light for shelves, cabinets, and work areas. Tunable-white versions shift from warm to cool white, which helps when a room serves different purposes. Check the cut marks before trimming.
RGB strips mix red, green, and blue light to create changing colors. RGBW models add a separate white LED, often producing more natural-looking white for everyday use. Addressable strips let individual sections display different colors or moving patterns. They can create striking effects, but need a compatible controller and more careful setup.
COB strips place many small LEDs close together, creating a smoother line of light with fewer visible dots. Silicone neon-style strips use a flexible diffuser for a rounded, continuous glow, often along counters or display edges. For damp areas, check the strip’s IP rating and how its ends and connections are protected. A water-resistant strip is not automatically suitable for submersion. Measure the run, confirm the power supply matches the strip, and allow for voltage drop on long installations. I still find that light reflected from a nearby wall can look quite different from the strip itself.
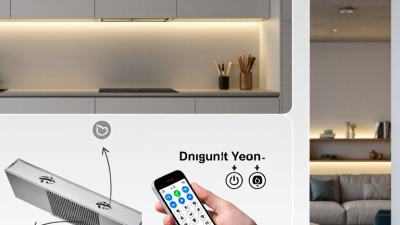
Flexible LED strip lights differ most in brightness, color control, installation, and heat management. For kitchens, high-density strips create a smoother line under cabinets, with fewer visible gaps between LEDs. Basic single-color options are usually simpler to install and adjust. RGB strips offer more color effects, but their white light may look less natural for cooking or reading.
Check the strip’s brightness rating, color temperature, and cutting marks before buying. A warm white around 2700–3000K can feel comfortable in living spaces, while cooler white often suits work areas. Measure the full route, including corners, and check whether the power supply can support the strip’s total length. Adhesive backing is convenient, but dusty or textured surfaces can weaken its grip. I learned that the hard way. A compatible channel can protect the strip and soften its appearance, though it adds cost and installation time.
Tips: Test a short section before mounting everything. Clean and dry the surface first, then avoid bending sharply near connectors. Compare dimming controls and extension options, not just the advertised color range. A strip that looks vivid in a product photo may feel harsh in a small room. Daylight changes the effect, too.
Choosing a flexible LED strip starts with the task, not the color. For a kitchen counter, compare brightness, color temperature, and color rendering; a high CRI helps food and wood tones look less washed out. Check the strip’s voltage and watts per meter, then match them to a compatible power supply with spare capacity.
DOE’s Energy Saver resource reports that LEDs use at least 75% less energy than incandescent bulbs. It also says they can last up to 25 times longer. That’s useful context, not a guarantee of strip lifespan. Read the product’s rated life and test a short section before installing the full run.
Measure the route, including corners and the path to the power supply. Cut only at marked points. Clean and dry the mounting surface, then press the strip firmly; adhesive can fail on dusty or warm surfaces. Long runs may show dimmer light at the far end because of voltage drop. Follow the maker’s wiring guidance, and consider feeding power at more than one point.
Do not power a strip while it remains coiled. For damp areas, check the exact IP rating and protect connections; an IP label alone does not make every installation waterproof. An aluminum channel can help protect the strip and disperse heat. Small detail. Test the lights before sealing channels or hiding wires.