7 Tips for Choosing the Best RGB LED Strip
Choosing an rgb led strip can feel simple until you compare voltage, brightness, color control, and installation options. A product photo rarely shows how evenly light spreads across a shelf or ceiling. Small details matter. Check the strip’s stated voltage, length, LED density, and whether its controller supports the features you want. A connector that almost fits is still a poor fit. Also consider where the strip will be used: a dry bedroom and a damp outdoor area need different protection ratings. Read the manufacturer’s product details rather than guessing from appearance. It is easy to overlook this.
This guide presents seven practical tips for comparing strips before you buy. You’ll consider color quality, power needs, control methods, cutting points, mounting surfaces, and heat management. These details can affect setup and day-to-day use. For example, a long run may need a power arrangement recommended by the manufacturer, while a dusty surface can weaken the adhesive. Measure the installation area, too. A few centimeters can matter around corners. No single strip suits every room, and product specifications do not always make comparisons easy. That part can be frustrating. Use the tips as a checklist, then confirm key details with the product documentation or a qualified installer when needed. A little careful checking now can prevent a dim section, an incompatible controller, or a messy installation later.
Identify Your Lighting Needs and the Intended Use
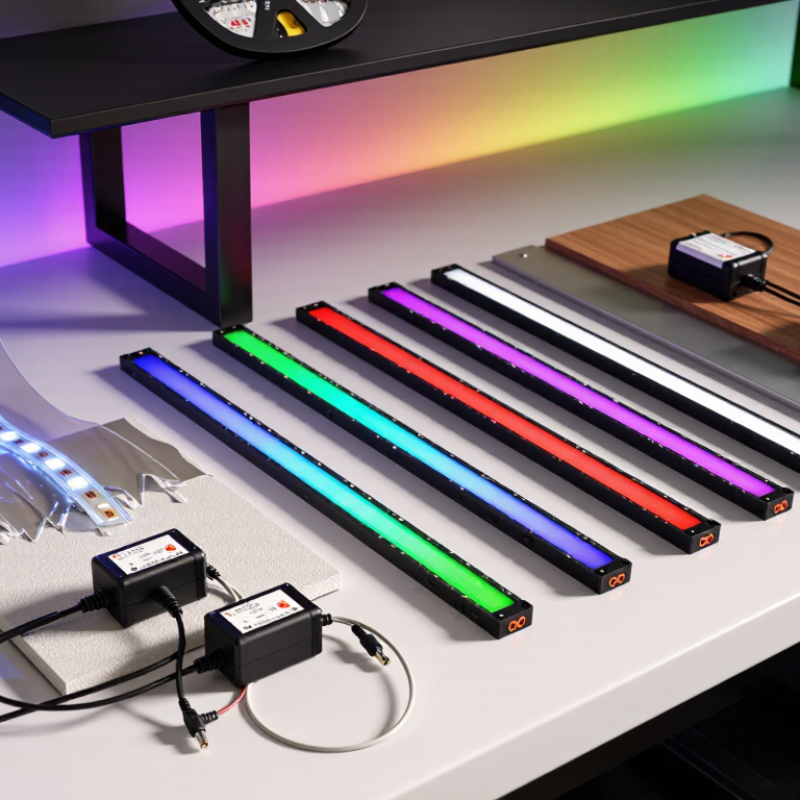
Before choosing an RGB LED strip, decide what the light needs to do. A desk needs clear, comfortable task lighting; a bookcase may only need a soft color accent. For room lighting, check whether the strip can provide enough brightness, not just vivid colors. A small awkward truth: color alone rarely fixes poor placement. IEA’s lighting overview estimates that lighting accounts for around 15% of global electricity use, so check the strip’s rated power and plan its operating hours. The U.S. Department of Energy’s Energy Saver guidance says LEDs can use up to 90% less energy than incandescent lighting. Treat that as a broad LED comparison, not a guarantee for every RGB strip.
Match the product to its location and controls. Measure the full path, including corners, and note where the power supply can sit. For kitchens or work areas, compare brightness and color-rendering details; some RGB-only strips make white light look harsh or tinted. A strip with a dedicated white-light channel may suit daily use better. For bathrooms or covered outdoor spaces, check the stated moisture protection rather than guessing from appearance. Consider how you will control the lights, too: a remote may be enough for a shelf, while scheduled or dimmable controls can help in a bedroom. I find this easy to underestimate. Think about the actual routine, not the feature list.
Check Control Options and Smart-Home Compatibility
Control options can make an RGB strip easy to enjoy—or frustrating to use. Check whether it includes a handheld remote, an app, a wall controller, or several options. A remote is handy beside the sofa. An app helps when the strip sits behind a desk or cabinet. Test it first.
For smart-home use, look beyond phrases like “voice compatible.” Confirm the strip works with your existing hub or platform, and check whether it needs a separate bridge. Some models connect only over a specific Wi-Fi band, while others use Bluetooth or a low-power mesh connection. Read the setup requirements before buying. A connection that drops during setup can turn a simple lighting project into an evening of troubleshooting.
Also consider what happens when the internet goes out. Can you still switch colors or dim the lights locally? Does the controller remember your last setting after power returns? These small details matter in a bedroom, where a sudden bright reset can be unwelcome. I would not assume every app offers the same controls; some make brightness easy to find but bury timer settings. Check the control layout, return policy, and compatibility notes together. A little extra checking now may save repeated pairing attempts later.
Match Power Requirements to Strip Length
A strip’s power needs grow with its length. Check its rated watts per meter and multiply by the total length. For example, a five-meter strip rated at 14.4 watts per meter needs up to 72 watts when fully lit. RGB strips can draw more with all channels on, so size the supply for that demanding setting, not a dim color scene. Match the supply voltage to the strip exactly.
Tip: Leave headroom. For a 72-watt load, a supply rated around 90 watts offers roughly 20 percent extra capacity. Check the strip and power-supply instructions, since actual recommendations can vary. A supply that is too small may flicker, dim, or run hot. More capacity does not force extra power into the strip, but the voltage must still match.
Long runs can lose voltage along the copper tracks. The far end may look dimmer or shift color, especially at high brightness. If that happens, consider shorter sections with power fed at multiple points, following the manufacturer’s wiring guidance. Don’t rely on the roll’s total-length rating alone; connector limits and wire thickness matter too. Even careful estimates can miss those details, so recheck the specifications before installation.
Choose the Right Waterproof Rating and Installation Type
A strip’s waterproof rating should match its actual location, not just the room name. IP20 suits dry indoor areas, such as a bedroom shelf. IP65 protects against dust and water jets, while IP67 allows temporary immersion under specified test conditions. It does not mean the strip can stay underwater. Check the product’s technical sheet, including the rating for its connectors and power supply. Water finds gaps.
Installation details matter just as much. For a kitchen cabinet, an exposed strip may collect grease and splashes; a covered channel is easier to wipe clean. In damp areas, confirm that the entire setup is suitable for the location, and follow local electrical guidance. Never assume a waterproof strip makes an unprotected connection safe.
Prepare the surface before using adhesive. Remove dust and grease, let it dry, then press the strip firmly into place. Dry first. A rough or warm surface can loosen adhesive over time, so clips or an aluminum channel may hold better. Leave room for airflow, and reseal any cut end with a compatible cap. I would not trust a rating printed on the strip alone; the weakest joint often sets the practical limit.